Solution Graphics

Foodbuzz
Ask an Expert - Visit my Virtual Office at LivePerson
Showing posts with label purchase. Show all posts
Now decorating a cake is even easier. As we add cake guides to our site, we will also add the option of purchasing any of the decorations needed. Your items will be made to order and shipped USPS Priority Mail. Please allow 3-5 days for handling because all gum paste and royal icing decorations will need time to dry before they can be shipped.

For a complete list of gumpaste items for sale, please visit our handmade shop on our sister site, www.KimsCake.com.

Read more »

In Labels: , , , , , , , , on .


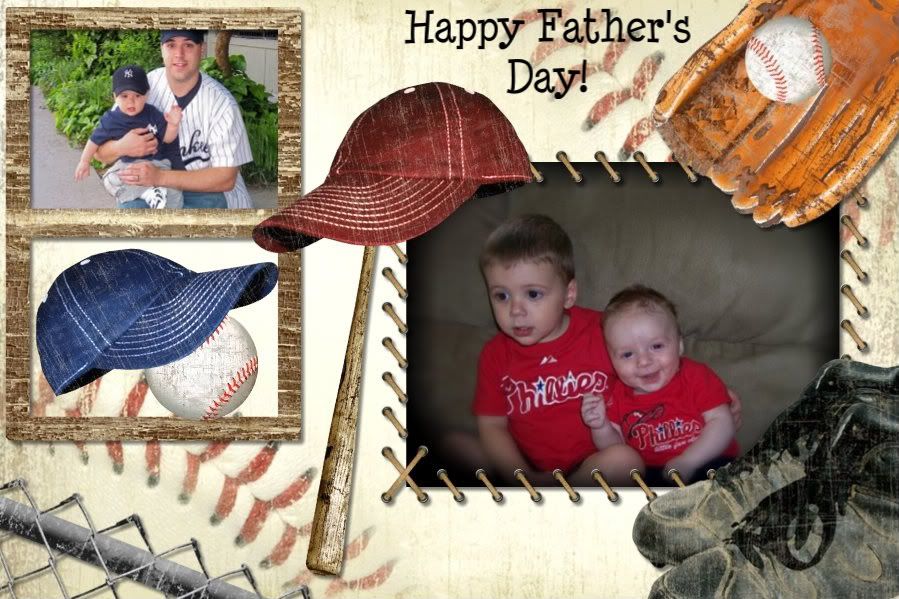
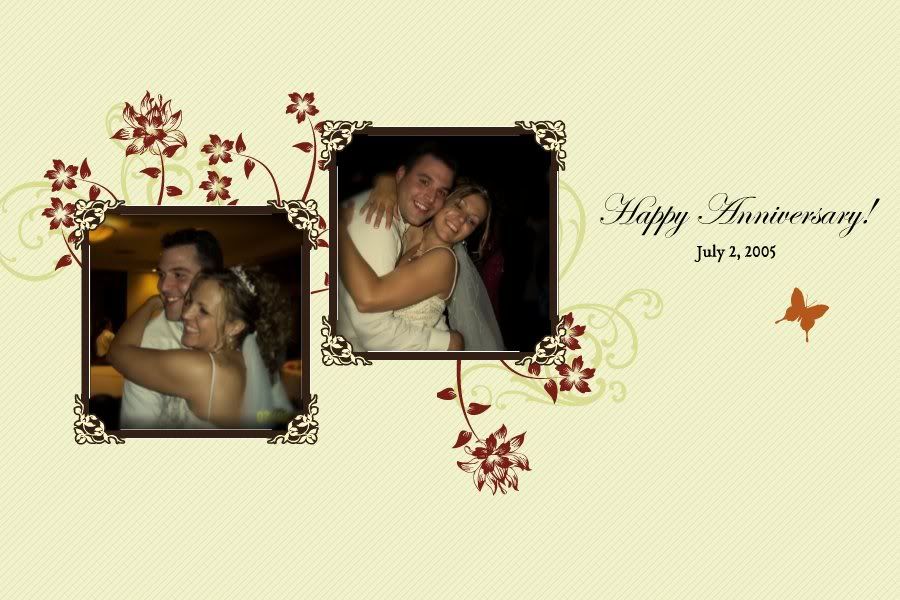
I am excited to announce that Piece of Cake Decorating is now selling edible cake images. All images are printed on an 8x10 icing sheet. You can purchase an image(8x10 or smaller) for $10 or a personalized collage similar to the picture shown for $15. The collages can have up to three photos and will be designed especially for you. Shipping on any image is $5 and will be sent USPS Priority Mail.

As always, all purchases are done through PayPal. Once you have purchased an image, please e-mail your photos to kseals@pieceofcakedecorating.com along with the size and shape of your photo. If you are ordering a personalized collage, please enter any important details in the notes to seller.

Click to purchase from my sister site, www.KimsCake.com.


Just a few examples of our collages. You are not limited to what you see.

Edible Father's Day CollageEdible Anniversary CollageEdible Music Collage
Read more »

In Labels: , , , , on .

Movie Cake


In this guide you will be given step-by-step instructions on how to make movie themed, gumpaste decorations for your cake.

This is a great cake for any movie theme. As you can see, I made this as a birthday cake but it would also be great as an anniversary cake, movie night cake, or even an Oscar party.

Make decorating this cake even easier. Complete a cake kit and individual gumpaste decorations now available at my handmade shop.

To make this cake you will need...


12 or 14 inch round cake board
10 inch round cake
Large Circle cookie cutter
Medium sized petal cutter
Large and small star cookie cutter
2 lollipop sticks
Tips #5, 3, and 2
Gray, white, brown, black, and yellow gum paste
White, red, yellow, and black buttercream icing


You do not need an air brush but it will definitely save you time on any cake, especially when you need to make black and red decorations.

Directions: 

Step1
A few days in advance make the filmstrips, clap board, film reel, billboard and stars. 
  • To make the filmstrips cut rectangular shaped pieces of gumpaste and mold them to shape using tissue.  You can use tan gumpaste and once dry you can paint on the black frames.  Another option is to use white gumpaste and paint everything once it dries.
  •   To make the movie reel, roll out black gumpaste leaving it fairly thick and cut out a long strip.  Roll this strip around itself to resemble a rolled up filmstrip.  Next, roll out the gray gum paste and cut out two large circles.  Then, with the petal cutter cut out the holes around the center of the circles (refer to picture above).  Once everything is dry, assemble the movie reel by applying some water to each piece and stick them together.  They will need to dry for at least one more day.
  • To make the clapboard, roll out black gumpaste and cut to shape.  When rolling out the gumpaste, leave it on the thick side so it holds up better once it dries.  When dry, pipe on the white details with white buttercream icing.  Another option is to use white gumpaste, tape off the details you want to leave white (i.e. the stripes) with scotch tape, then airbrush or paint the clapboard black.  When the black color dries you can remove the tape.
  • To make the billboard, roll out a thick piece of white gumpaste and cut a large rectangle to the size you desire.   Place 2 lollipop sticks in the bottom and let dry.  Once the gumpaste is dry, pipe on the details with buttercream icing and tip #2 for the lights and #3 for the words.
  •  To make the stars, roll out yellow gumpaste and cut out the stars with a small and large cookie cutter.

Step 2

Finally it is time to level, tort and fill the cakes.  Place them on your cake board and ice with white buttercream icing.


Step 3

With red buttercream icing and tip #5, pipe on the red carpet.  If you have an airbrush, you can airbrush on the carpet but be sure to make a template so that you do not get red on the rest of the cake. 


 Step 4

As a boarder, place the small stars around the bottom of the cake. 


Step 5

Place your gumpaste decorations on the cake.  Be sure to secure them in place with buttercream icing.
Read more »

In Labels: , , , , , , , , , , , , , , , , , on .

Photobucket
I made these cakes for an Asian themed bridal shower. The guide you would be purchasing will give you instructions on how to make the Fortune Cookie Cake only. The How to Make a Chinese Lantern cake guide was written separately.

To make this cake you will need...
14 inch, round, silver cake board
Two 10 inch, round cakes
White gumpaste
3-4 orchid flowers (instructions for flowers not included)

This is all you need to make the flowers. For best results, mix the gum paste with some fondant so it does not dry as quickly. The flower kit is a great investment for any cake decorator. Trust me, you will use this more than once.


Directions:


Step 1


A few days in advance, roll out white gumpaste and cut a rectangle shape for the fortune.

***Decorator’s Tip*** When cutting rectangle shape, keep the 10 inch cake pan near by in order to make sure your proportions are correct.


Step 2

Bake two 10 inch, round cakes.  Level one of the cakes then fill and stack both cakes on the silver cake board.  When stacking, the top cake should stay rounded and NOT level.

***Decorator’s Tip***  After this step, freeze the cake to make it easier to carve.


Step 3

Cut out a triangle shape out of the cake and trim cake off the top to give the cake a smoother look.  Keep trimming the top and triangle cut out until you are happy with the shape of your fortune cookie.


Step 4

Color the fondant tan (you could also leave the fondant white and airbrush it later).  To get tan I used a combination of brown and ivory.


Step 5

Ice the cake with buttercream icing.  Cover the cake in fondant.

***Decorator’s Tip*** You may need an extra set of hand to help lay the fondant in the cut part of the cake without tearing.


Step 6

Write your message on the gumpaste fortune and place it on the side of the cake.  Then, place your gumpaste flowers around the cake.

***Decorator’s Tip***  If you are transporting this cake, you may want to wait until you arrive at your destination before putting the fortune and flowers on the cake.

Read more »

In Labels: , , , , , , , , , , , , on .

Photobucket

I made this Winnie-the-Pooh cake for my son's first birthday. It was very easy to make but I cannot take credit for this one. I purchased a cake kit complete with instructions, toppers, and even toys for my son. Below is a link to purchase the kit if you are interested in this cake. If you are looking for an easy kit similar to this one, check out the cake kit category at my online shop. There are kits for all ages from Sesame Street to Sports to Hannah Montana. However, not all of these kits will come with instructions. Look under our site's banner on how to order a Custom Cake Guide.


Read more »

In Labels: , , , , , , , , , , , , , , , , on .

Photobucket
There are 2 ways to make this cake. Below you will find my "novice" instructions, which uses a car shaped cake pan. If you are looking to carve your Lightning McQueen cake, "experienced" instructions are also available here.


To make the "novice" cake you will need...


3D Wilton Cruiser Pan
Large rectangular cake board
Tips # 2, 3 and 5
Red and black fondant
Red gumpaste
Thick Wire
Tan, white, orange, yellow, and black buttercream icing
Blue tinted piping gel
Crushed graham crackers
Rice Krispie Treats
Plastic cacti


Another item that will help decorate this cake is an airbrush. You will be able to cover the car in white fondant then airbrush it red. It will save you a great deal of time.


Directions for the "novice" cake:

****Please keep in mind that by using the cake mold listed above, your cake may not look exactly like Lightning McQueen because, while this mold gives you a car shape, it is not his exact shape.****


Step 1

A few days in advance, make the spoiler out of red gumpaste and place 4 thick wires
into the spoiler as it dries (the longer the better). These wires will hold the spoiler on the
cake.


Step 2

Bake the 3D Cruiser cake and freeze. To get the cake to look more like Lightning McQueen, you will need to trim cake off the top and possibly the hood to give it more of a curve.


Step 3

Once you are happy with the shape of the cake, ice the entire car with buttercream icing.


Step 4

Cover the cake with fondant. You can either cover the cake with red fondant or cover the cake with white fondant and airbrush the whole cake red.


Step 5

Use the white buttercream and tip #3 or 5 to pipe on the windows. 

****Decorator’s Tip**** Use a toothpick to outline all of the windows and the lightning bolt onto the car.


Step 6

Outline all of the windows with the black icing and tip # 2.


Step 7

Repeat the above two steps to pipe on the large lighting bolts, head lights, tail lights, and the large number on top, using yellow and orange or white buttercream (colors will depend on what you are piping).


Step 8

With tip #2 and black icing, pipe numbers on the sides of the car as well as the passenger side headlight and tail light.


Step 9

With tip #2 and yellow icing, pipe the child’s name to resemble the Rusteeze logo.


Step 10

With tip #2 and blue piping gel pipe on eyes. Be careful, as the piping gel will run if you use too much. Finally, add the pupil on the eyes with a small black dot.


Step 11

The only part that is left of the car is to make the wheels. To do this, cut circles out of Rice Krispie Treats and cover with black fondant. You can also cover with white fondant and airbrush them black. Add a red circle to the center of the wheel and pipe the word Lightyear onto the wheels. Once the car is sitting on the bottom cake you can place the wheels onto the cake. The exact size of the wheels will vary depending on the size of your wheel well. My wheels fit so snugly that I was able to place them into the well and they did not fall.


Step 12

Finally, bake, level and fill the 2 14x11 cakes. Place onto the large rectangular cake board and cover with tan icing. Next, sprinkle the crushed graham crackers on top to look like sand. Place 4 dowels into the cake to support the car. The placement of the dowels will depend on the placement of the car. Just be sure to use 2 dowels for the front of the car and two for the back.


Step 13

Place the wheels and spoiler onto the car and put the cacti onto the large cake.

****Decorator’s Tip**** If you are having trouble getting the spoiler to stay up you can take 4 lollipop sticks and place them behind the spoiler for support. Cover these sticks with black or gray buttercream. If you look at the original Lightning McQueen, you will see he has something similar on the back of his spoiler.
Read more »

In Labels: , , , , , , , , , , , , , on .

Having trouble finding instructions on how to decorate a cake? We can help. For a small $5 fee and our money back guarantee we will create a custom cake guide. Your guide will include step-by-step instructions and sketches when needed. Just simply click the "add to cart" button below and be sure to leave your e-mail address at the checkout. Once we have been notified of your purchase, we will e-mail you about your request. Please be prepared to respond with a detailed description and/or a picture of your request. If for any reason we are unable to help you, we will issue a full refund. We look forward to creating a guide for you. And remember, if you ever have any questions about anything on our site, you can e-mail us at kseals@pieceofcakedecorating.com.


Read more »

In Labels: , , , , , , , , , , , , , , , , , , , on .