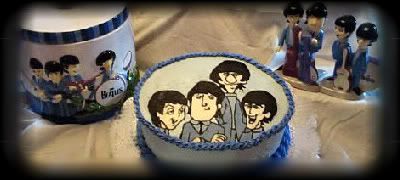
Making a template is a great way to get the the right shape when carving and decorating a cake. With these easy steps, you can create a template to fit any design.
You will need....
several sheets of paper or large poster board
tape (optional)
tape measure
pencil
scissors
Step 1

Take a few sheets of paper and tape them together. Once they are lined up, use a tape measure to re-size your paper to the measurements of your cake pan.
***Decorator's Tip*** Poster board is another option. It is already large so it will save you the step of taping.
Step 2

Draw your picture on your re-sized paper. After drawing, I like to fold the paper in half and cut along the lines I am happier with. I do this for templates that need to be symmetrical.
Step 3

Open it up and check your work then, make any necessary adjustments. Here I drew the details on my template to help me visualize the end result.
That's it! You are ready to use your template. Here are a few examples of when a template will come in handy. The template above was used to make the first cake.

Here I used a template to get the shape of the basketball jersey. It was very helpful in achieving symmetry.

In this cake, the template not only gave me the shape of the house but I cut it up into smaller sections (ie door, window, roof peek, etc) to keep proportions.
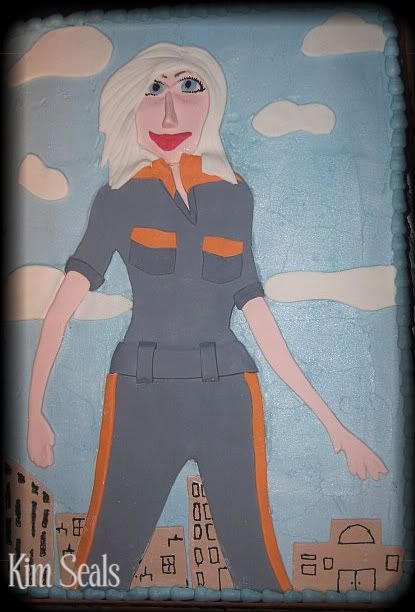
Here is another example of cutting the template into sections to keep proportions. However, in this example I blew up a picture and printed it out.

I used a template on the guitar because, honestly, this is just not something I can free hand.
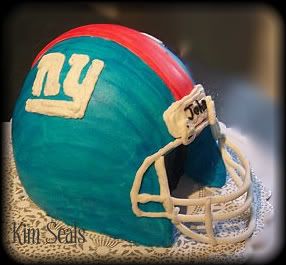
On this cake a template was used to create the NY on the helmet. More detailed instructions can be found in my Piping with a Template Tutorial.
As you can see, templates are a big part of my decorating process. Free hand piping and carving is very difficult and templates are a great decorating tool to utilize in these situations.
Read more »
You will need....
several sheets of paper or large poster board
tape (optional)
tape measure
pencil
scissors
Step 1
Take a few sheets of paper and tape them together. Once they are lined up, use a tape measure to re-size your paper to the measurements of your cake pan.
***Decorator's Tip*** Poster board is another option. It is already large so it will save you the step of taping.
Step 2
Draw your picture on your re-sized paper. After drawing, I like to fold the paper in half and cut along the lines I am happier with. I do this for templates that need to be symmetrical.
Step 3
Open it up and check your work then, make any necessary adjustments. Here I drew the details on my template to help me visualize the end result.
That's it! You are ready to use your template. Here are a few examples of when a template will come in handy. The template above was used to make the first cake.
Here I used a template to get the shape of the basketball jersey. It was very helpful in achieving symmetry.
In this cake, the template not only gave me the shape of the house but I cut it up into smaller sections (ie door, window, roof peek, etc) to keep proportions.
Here is another example of cutting the template into sections to keep proportions. However, in this example I blew up a picture and printed it out.
I used a template on the guitar because, honestly, this is just not something I can free hand.
On this cake a template was used to create the NY on the helmet. More detailed instructions can be found in my Piping with a Template Tutorial.
As you can see, templates are a big part of my decorating process. Free hand piping and carving is very difficult and templates are a great decorating tool to utilize in these situations.