How to Decorate Your Holiday Cake Using Edible Ink
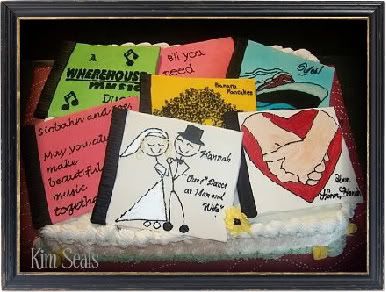
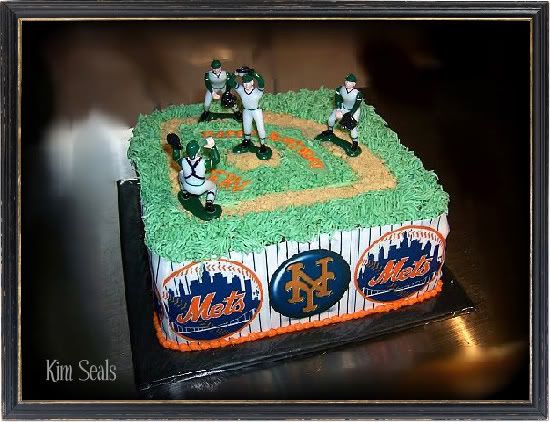
Many people get stuck with the task of bringing a cake to their holiday celebrations. Whatever the occasion, from office parties to the Christmas play at you church, the person tasked with bringing the cake usually wants to pull out all the stops and make a cake worthy of the holidays. There’s a great way to make gorgeous, attention-grabbing cakes with hardly any effort: printing an image using edible ink and edible paper.
Edible inks and papers are great for amateur cake bakers. You simply select an image, print it out, and place it on the cake. Almost anyone can do it, and the results are spectacular.
Step 1: Getting the Edible Ink Supplies
First, you need to get the supplies. These are pretty simple: edible printing paper, edible ink and a printer. Most edible ink cartridges will work with standard printers, but you must use a printer that has never been used to print anything other than edible inks. If the printer has been used for regular printing jobs, the less-than-healthy standard printer ink will have seeped into crevasses and cling to the printing apparatuses. It can then contaminate the edible ink, and no one wants to eat anything that’s got printer ink on it, right?
Step 2: Picking an Image
Now you have to choose an image. This really is the fun part because you’re limited only by your imagination. You can use photographs you already have, like Christmas photos of your family, and add text or edit the image using a program like Photoshop.
Vintage images look amazing, since the colors are soft and the images are intricate. They really make the most of edible ink’s capabilities. Search the internet (such as Google Images) for “vintage Christmas cards” and browse until you find one that looks great for your cake. Try to find an image with a high resolution, so you can blow up the image and retain the detail. If you can’t, don’t worry about it too much. A bit of graininess will make it look even more vintage and aged.

This is a nice, large image and would look great on a sheet cake. There is a nice amount of space in the top left to add any messages as you desire. You could also recreate the gold foil with a gold-colored edible ink pen.

This is a great one for a more formal religious celebration. Besides coming in a ridiculously huge size (so you won’t need to blow it up to get it to fit on a normal-sized cake), the image has vibrant colors and loads of detail. It really would make a very impressive cake. The figures might need a little touching up with a gold edible ink pen once the image has been printed, but that would only add to the visual sumptuousness of the cake.
For those who need a cake design that doesn’t assume everyone who will eat the cake will also celebrate Christmas, there are plenty of more generic “winter holiday” designs that can suit an office party or a holiday celebration with friends of various religious and cultural backgrounds.

This is a postcard featuring a snowball fight in Paris in 1905. Its sophisticated setting contrasts with the children’s unadulterated glee and would be perfect for anyone who wants to simply celebrate the joy everyone experiences at this time of the year.
Step 3: Printing the Image & Decorating the Cake
With the image chosen, you need to print that image and put it on the cake. Make sure the cake has cooled before you decorate it, or else the icing will melt and the paper will slip off. Put a layer of icing on the top of the cake (or wherever you are going to place the image). Place the printed image on the icing, smoothing out any air bubbles as you go along. Once you’ve got the image in place, pipe a border around the image to cover the edges. This border can be a fancy scalloped border, but if you aren’t that skilled, try simple dots around the edges. It takes a while, but the effort will be worth it. Finally, let the edible ink picture set. The paper dissolves into the moisture of the icing, leaving only the ink behind.
You should end up with a beautiful, unique cake that is perfect for your holiday celebrations!
Author Bio:
Guest post by the team at Clickinks, a printer ink company that offers discount prices on ink and toner cartridges. Clickinks carries products for all top print brands such as HP, Brother, Epson ink, and more. Search for the exact ink cartridges you need and save!
Read more »
Many people get stuck with the task of bringing a cake to their holiday celebrations. Whatever the occasion, from office parties to the Christmas play at you church, the person tasked with bringing the cake usually wants to pull out all the stops and make a cake worthy of the holidays. There’s a great way to make gorgeous, attention-grabbing cakes with hardly any effort: printing an image using edible ink and edible paper.
Edible inks and papers are great for amateur cake bakers. You simply select an image, print it out, and place it on the cake. Almost anyone can do it, and the results are spectacular.
Step 1: Getting the Edible Ink Supplies
First, you need to get the supplies. These are pretty simple: edible printing paper, edible ink and a printer. Most edible ink cartridges will work with standard printers, but you must use a printer that has never been used to print anything other than edible inks. If the printer has been used for regular printing jobs, the less-than-healthy standard printer ink will have seeped into crevasses and cling to the printing apparatuses. It can then contaminate the edible ink, and no one wants to eat anything that’s got printer ink on it, right?
Step 2: Picking an Image
Now you have to choose an image. This really is the fun part because you’re limited only by your imagination. You can use photographs you already have, like Christmas photos of your family, and add text or edit the image using a program like Photoshop.
Vintage images look amazing, since the colors are soft and the images are intricate. They really make the most of edible ink’s capabilities. Search the internet (such as Google Images) for “vintage Christmas cards” and browse until you find one that looks great for your cake. Try to find an image with a high resolution, so you can blow up the image and retain the detail. If you can’t, don’t worry about it too much. A bit of graininess will make it look even more vintage and aged.

This is a nice, large image and would look great on a sheet cake. There is a nice amount of space in the top left to add any messages as you desire. You could also recreate the gold foil with a gold-colored edible ink pen.

This is a great one for a more formal religious celebration. Besides coming in a ridiculously huge size (so you won’t need to blow it up to get it to fit on a normal-sized cake), the image has vibrant colors and loads of detail. It really would make a very impressive cake. The figures might need a little touching up with a gold edible ink pen once the image has been printed, but that would only add to the visual sumptuousness of the cake.
For those who need a cake design that doesn’t assume everyone who will eat the cake will also celebrate Christmas, there are plenty of more generic “winter holiday” designs that can suit an office party or a holiday celebration with friends of various religious and cultural backgrounds.

This is a postcard featuring a snowball fight in Paris in 1905. Its sophisticated setting contrasts with the children’s unadulterated glee and would be perfect for anyone who wants to simply celebrate the joy everyone experiences at this time of the year.
Step 3: Printing the Image & Decorating the Cake
With the image chosen, you need to print that image and put it on the cake. Make sure the cake has cooled before you decorate it, or else the icing will melt and the paper will slip off. Put a layer of icing on the top of the cake (or wherever you are going to place the image). Place the printed image on the icing, smoothing out any air bubbles as you go along. Once you’ve got the image in place, pipe a border around the image to cover the edges. This border can be a fancy scalloped border, but if you aren’t that skilled, try simple dots around the edges. It takes a while, but the effort will be worth it. Finally, let the edible ink picture set. The paper dissolves into the moisture of the icing, leaving only the ink behind.
You should end up with a beautiful, unique cake that is perfect for your holiday celebrations!
Author Bio:
Guest post by the team at Clickinks, a printer ink company that offers discount prices on ink and toner cartridges. Clickinks carries products for all top print brands such as HP, Brother, Epson ink, and more. Search for the exact ink cartridges you need and save!