


Pin It now!
I love gift cards! I was given a ton for my birthday this year so I was forced to spoil myself. My favorite purchase was the Get Sassie! Sugar Gun. I was scared at first...sugar is hot and I am clumsy! I mean, let's face it, I burn myself with a glue gun and this is MUCH hotter. In the end, all went well and I made some pretty cool things. For anyone like me who is afraid of sugar, this is a great introduction. Because it works like a glue gun, it isn't so scary and unless you touch the sugar on purpose you won't get burned.
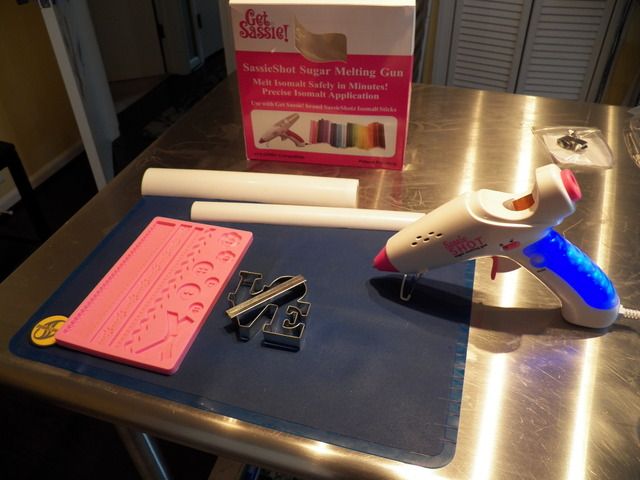
Before I go on I want to tell you what you need to do everything I have done here. Most important is the Get Sassie! glue gun and sugar sticks. Equally as important is a silicone mat. Sugar won't stick to it or melt it. Ignore the cookie cutter, I tried to use it as a mold but it was too big. If you want to use a cookie cutter just make sure it is metal and on the smaller side. Any silicone mold will work great and the flower formers were used to make a sugar flower! I still can't believe I figured this out on my own. Having trouble finding these things? These links should help...
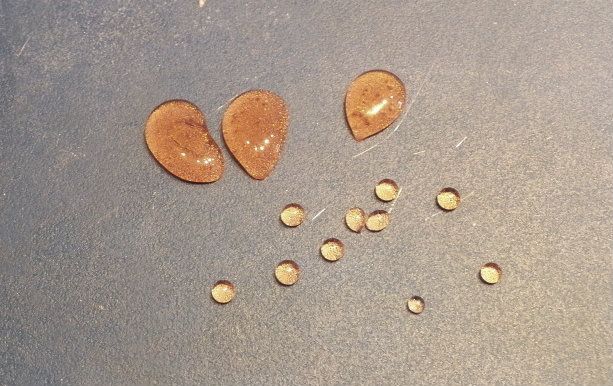
While playing with my sugar gun I took lots of pictures to show you the versatility this "toy" has. The gun has two settings green for freehand sugar work and pink for molds. I thought the freehand would be cool to write with sugar but no, it didn't work. Everything just ran together. However, with freehand you can make sugar beads which would be great for those hard to find silver beads (see silver sugar sticks above)! Here is what they look like along with a tear drop shape...
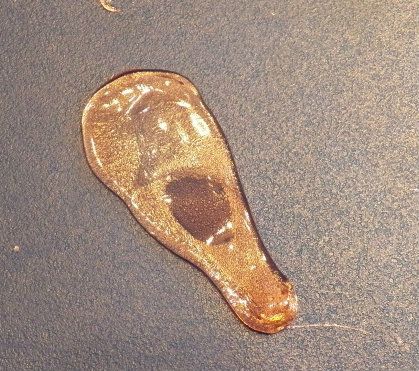
Those tear drop shapes looked like the start of a petal to me so I decided to play with them. I made a the shape just as I would with buttercream and a piping bag. I was afraid to touch the sugar at ANY point so I used the silicone mat to help me flatten it out (I DO NOT recommend touching the sugar at any point. Please learn how to use sugar before you decide to do so. The burns are not something you want to mess with!) When it was flat it looked like this...
I then used my flower former to shape the sugar once it was cool enough to touch. Don't wait too long though. Once it sets, that's it.

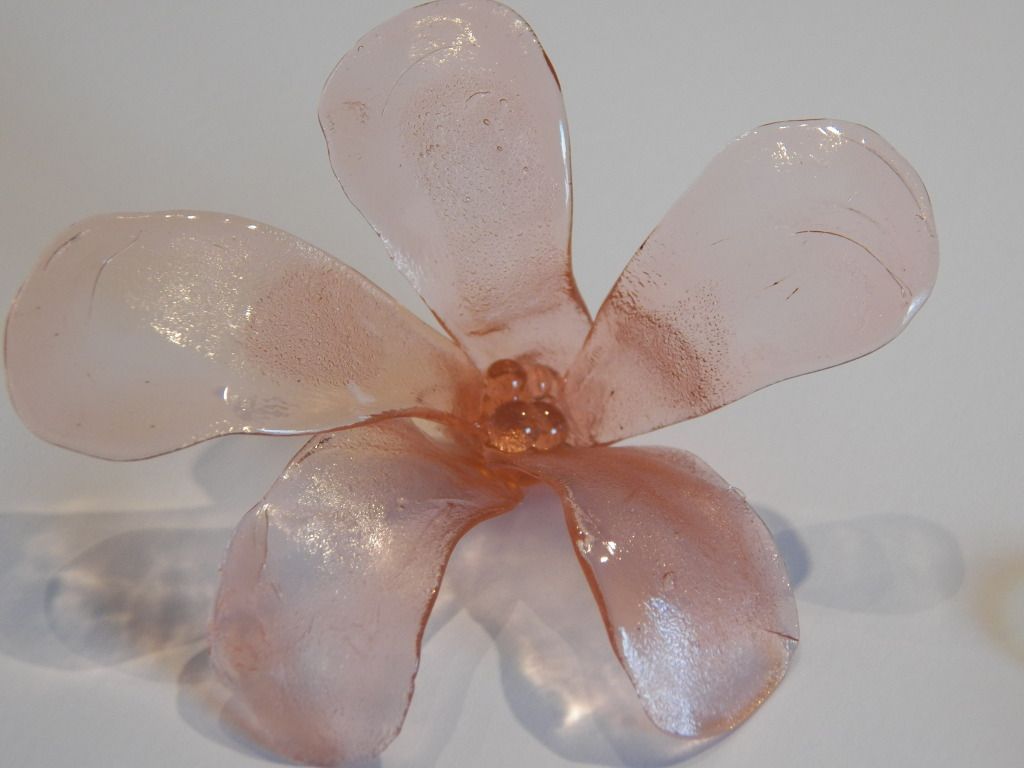
Once the sugar was set I simply added a drop of sugar to the end of the petals and attached them together. Then, I added the little beads I made previously and this was the result...
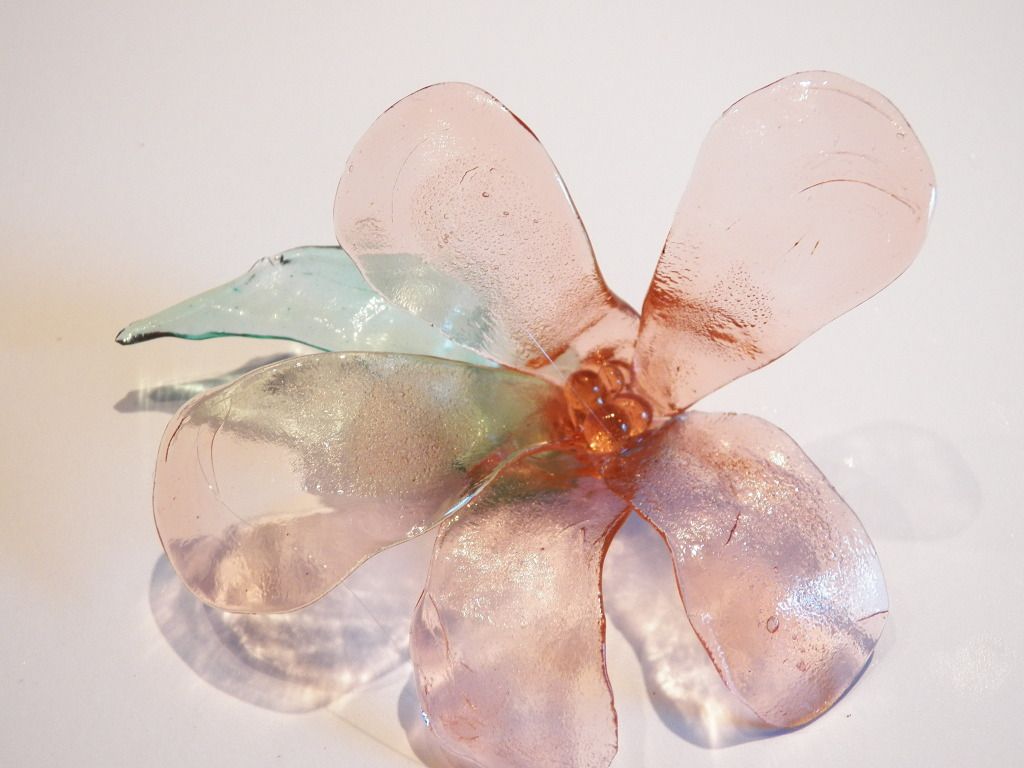
I'm pretty proud of myself, and it was easy! Trust me, if I can do it then so can you. Later, I decided to make a leaf with some green sugar. It is made the same as the petal but with a little point at the top when you "pipe" it.
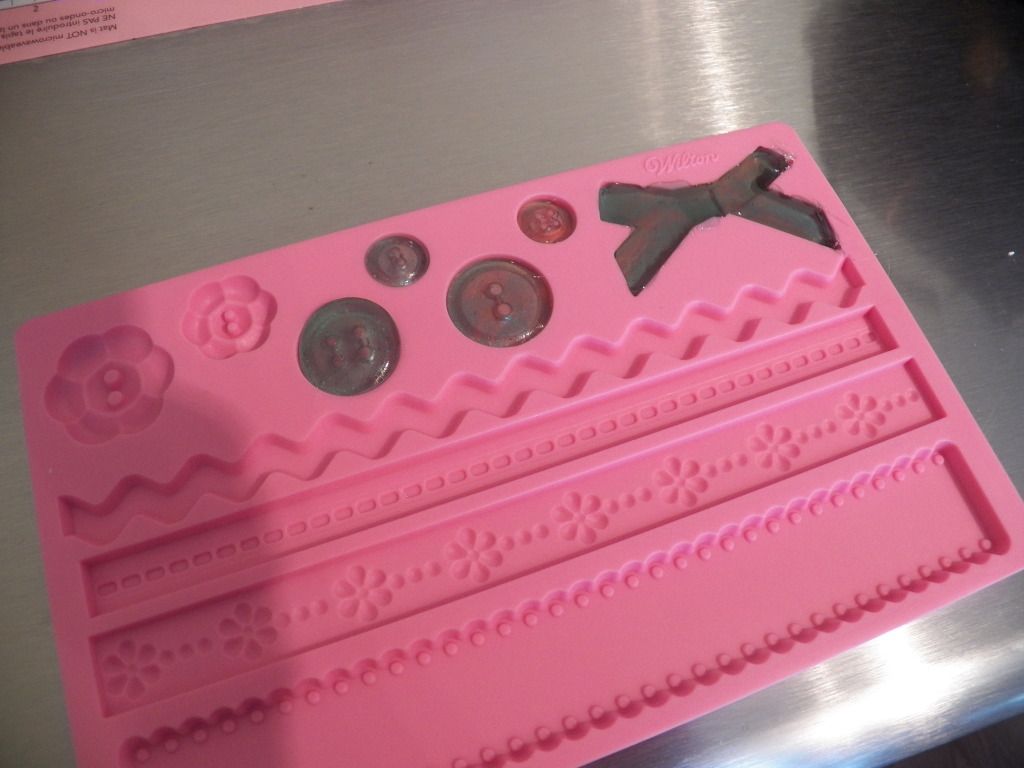
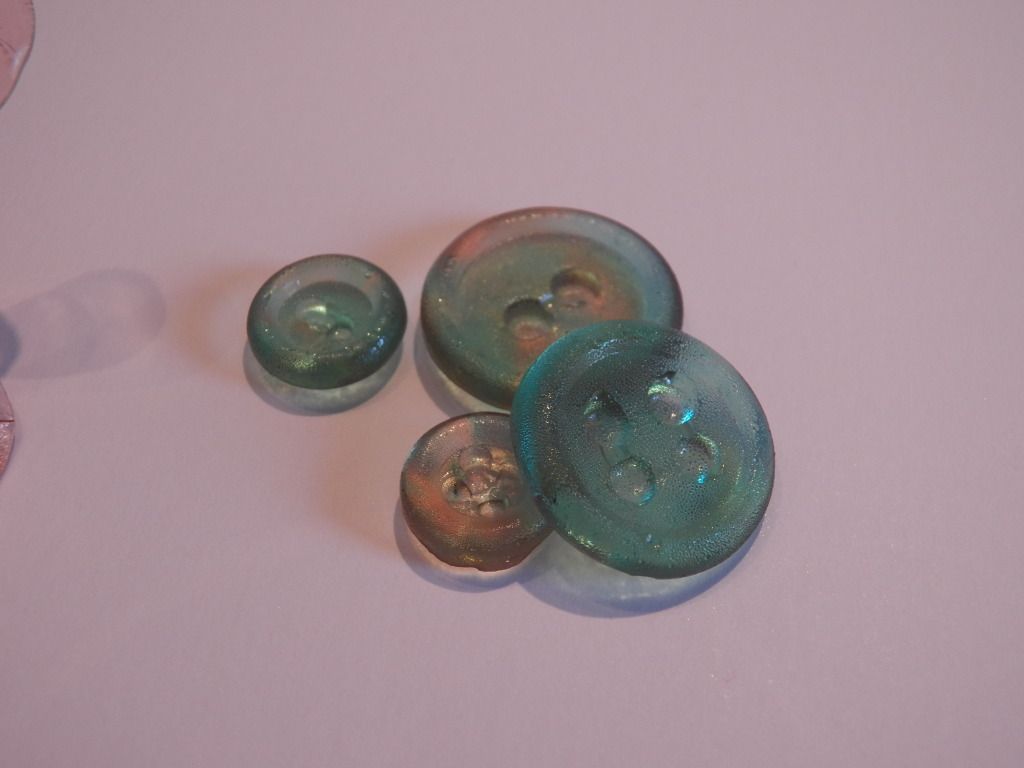
Molds are the easiest use for this tool. The pink setting makes the sugar come out faster to fill the mold. I have used it to make jewels, buttons and a bow. Just fill, gently shake and let set.
So that was my first experience with a sugar gun and I'm hooked! If you don't want to take the risk or can't put out the money just yet, don't worry! I am starting to sell these products at my newly reopened Etsy shop, http://www.etsy.com/shop/KimsCake. I take special request so please be sure to ask. Sorry for the shameless plug.
If I have to say anything negative it is that once you start on a color that's it; you can't switch. Look at the buttons I made. Two of them are half pink and half green. I'm not really crazy about that because it is such a waste of sugar.
Well there you have it. I couldn't find the sugar gun on Amazon so that is why it is not in my shop but you can purchase it at www.GlobalSugarArt.com. If you are playing with this toy, share your pictures!
Before I go on I want to tell you what you need to do everything I have done here. Most important is the Get Sassie! glue gun and sugar sticks. Equally as important is a silicone mat. Sugar won't stick to it or melt it. Ignore the cookie cutter, I tried to use it as a mold but it was too big. If you want to use a cookie cutter just make sure it is metal and on the smaller side. Any silicone mold will work great and the flower formers were used to make a sugar flower! I still can't believe I figured this out on my own. Having trouble finding these things? These links should help...
While playing with my sugar gun I took lots of pictures to show you the versatility this "toy" has. The gun has two settings green for freehand sugar work and pink for molds. I thought the freehand would be cool to write with sugar but no, it didn't work. Everything just ran together. However, with freehand you can make sugar beads which would be great for those hard to find silver beads (see silver sugar sticks above)! Here is what they look like along with a tear drop shape...
Those tear drop shapes looked like the start of a petal to me so I decided to play with them. I made a the shape just as I would with buttercream and a piping bag. I was afraid to touch the sugar at ANY point so I used the silicone mat to help me flatten it out (I DO NOT recommend touching the sugar at any point. Please learn how to use sugar before you decide to do so. The burns are not something you want to mess with!) When it was flat it looked like this...
I then used my flower former to shape the sugar once it was cool enough to touch. Don't wait too long though. Once it sets, that's it.
Once the sugar was set I simply added a drop of sugar to the end of the petals and attached them together. Then, I added the little beads I made previously and this was the result...
I'm pretty proud of myself, and it was easy! Trust me, if I can do it then so can you. Later, I decided to make a leaf with some green sugar. It is made the same as the petal but with a little point at the top when you "pipe" it.
Molds are the easiest use for this tool. The pink setting makes the sugar come out faster to fill the mold. I have used it to make jewels, buttons and a bow. Just fill, gently shake and let set.
So that was my first experience with a sugar gun and I'm hooked! If you don't want to take the risk or can't put out the money just yet, don't worry! I am starting to sell these products at my newly reopened Etsy shop, http://www.etsy.com/shop/KimsCake. I take special request so please be sure to ask. Sorry for the shameless plug.
If I have to say anything negative it is that once you start on a color that's it; you can't switch. Look at the buttons I made. Two of them are half pink and half green. I'm not really crazy about that because it is such a waste of sugar.
Well there you have it. I couldn't find the sugar gun on Amazon so that is why it is not in my shop but you can purchase it at www.GlobalSugarArt.com. If you are playing with this toy, share your pictures!
____________________________________________________________________________________________


No Responses to "My New Toy: Get Sassie! Sugar Gun"
Leave a Reply
We would love to hear what you think.