


Pin It now!
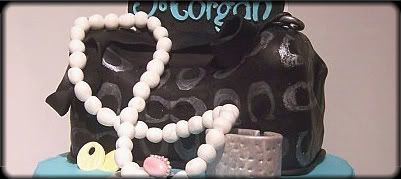
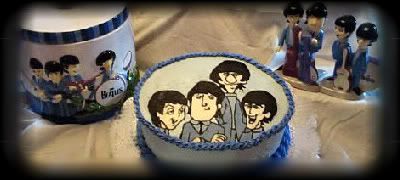
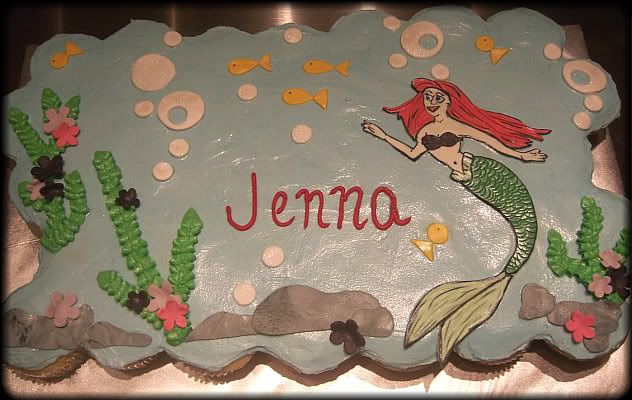
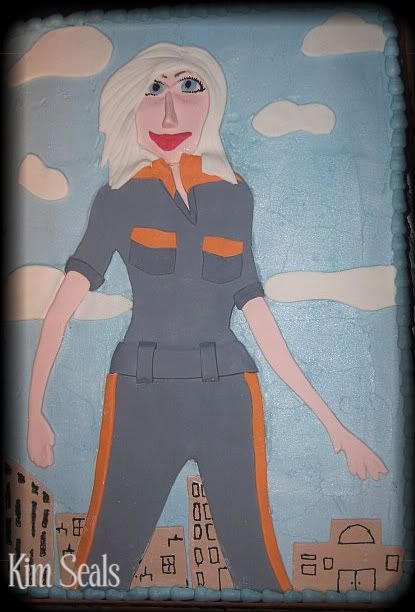
 These images are a lot easier than they look and will give your cakes that wow factor you're looking for. Before we get into the tutorial, here are a couple examples of how they can be used on a cake.
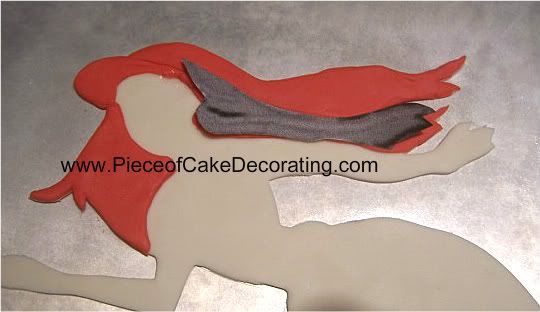 Roll out red fondant about 1/8 of an inch thick and cut out your hair pieces. Attach with a small amount of water. As you can see in this picture, I used my printed pieces to make sure I kept the general shape of the piece. Here the hair stretched so, while the fondant was still soft, I adjusted its shape. If I didn't do this, I run the risk of altering the shape of her arm, face or body.
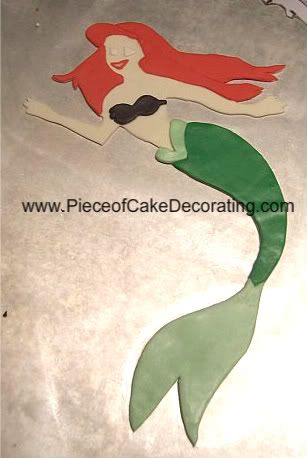 Repeat steps 2 and 3 with the fin and shell top. The eyes, mouth and nose will most likely be too small to cut out so do your best to eyeball the general shape.
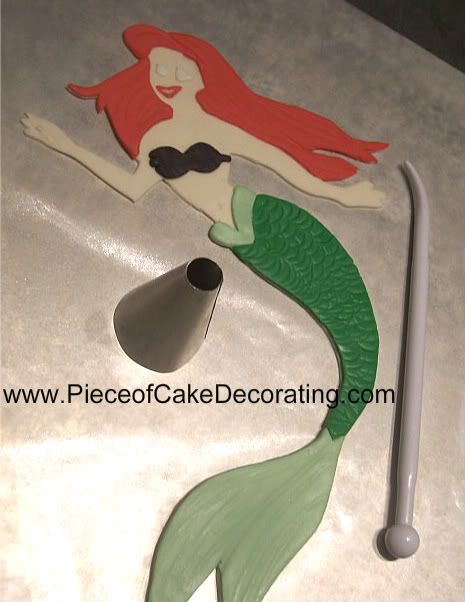 With a large round tip, add half circles to the dark green section of her body to look like scales. Then, with the gumpaste tool, add texture to the light green fins and her purple shell top.
 Use your clay extruder (optional) to make strands of hair. If you don't have a clay extruder you can also roll the pieces out by hand. Place them over seams and in a few other places to add texture and dimension. Attach with a small amount of water.

Now, down to business...
Supplies
Printed image
fondant or gumpaste (colored accordingly)
Exact-O knife
Scissors
Wax paper
Flat Surface like cardboard or a cookie sheet
Clay Extruder (optional)
Gumpaste tool (anything with a smooth edge) or the back of a small paint brush
Black and blue edible ink OR thin edible markers
Thin brush (if using edible ink)
Directions
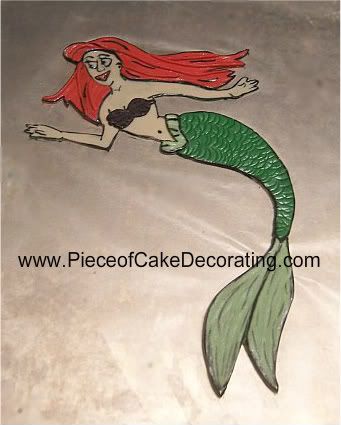
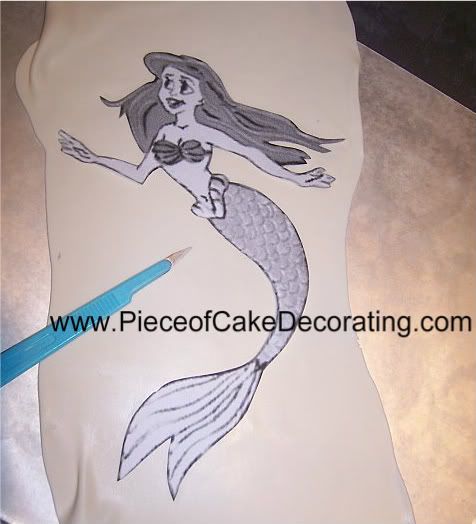
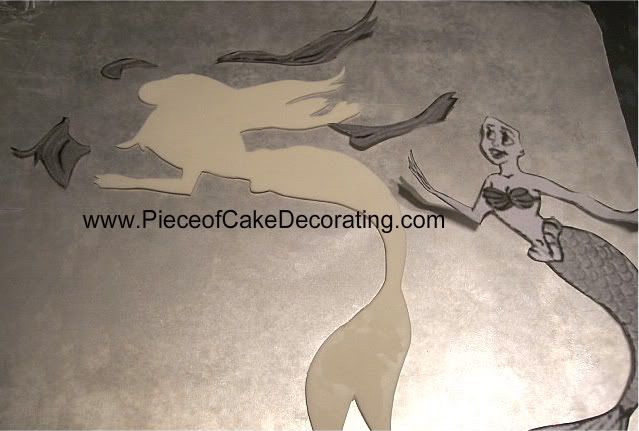
Throughout this tutorial I will be using the Ariel image at the very top. Keep in mind that we will be working in layers. The very bottom layer for my image will be skin toned and we will build on top of this.
Important: These images should be done a few days in advance to allow it to dry.
Step 1
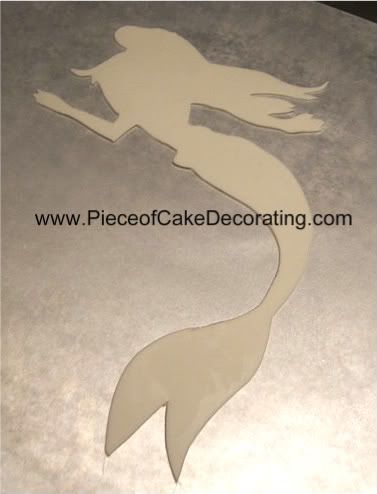
Roll out a piece of fondant (skin tone) about 1/8 of an inch thick and place it on top of a piece of wax paper on your cardboard or cookie sheet. Then place your cut out printed image on top and, using your Exact-O knife, cut your full image out. Your end result will look like the picture below.
Step 2
Cut the hair off your image. I decided to cut the hair into 4 separate sections because it would be difficult to place the hair on in one piece and the fondant is more likely to stretch in the process. We will be covering the seams later on.
Step 3
Step 4
Step 5
Step 6
Step 7
Brush pearl luster dust over the entire image. This helps give the appearance of her being under water. Then, using a thin brush, outline all your pieces with black edible ink. Add extra detail to the hair, face, hands, body and bottom fins. Dark blue ink is used on the eyes. This step will also work with THIN edible markers.
Step 8
Let dry a few days (at least over night) before placing on your cake.
____________________________________________________________________________________________


No Responses to "How to Make Layered Fondant Images"
Leave a Reply
We would love to hear what you think.